Cake pops have a way of turning any moment into a celebration. Maybe it’s their playful shape, or the fact that they’re small enough to pop in your mouth without a fork in sight. For me, it all started when my youngest turned five. I had half a birthday cake left over, and instead of letting it dry out in the fridge, I crumbled it up, added a little frosting, and dipped the balls in candy coating. They were gone faster than the actual birthday cake.
That’s the magic of birthday cake cake pops. They’re bite-sized, fun to make, and a total hit at kids’ parties, potlucks, or even just when you’re craving something sweet and nostalgic. Whether you’re working with fresh funfetti cake or using up last week’s leftovers, these little treats can transform an ordinary day into something festive.
In this post, I’ll show you how to make birthday cake cake pops that are sturdy, moist, and delicious—without cracking, falling apart, or costing a fortune. We’ll cover how to get the texture just right, tricks for smooth dipping, and creative decorating tips that’ll make your pops party-ready.
Let’s roll.
Print
Birthday Cake Cake Pops That Actually Hold Together (And Taste Like a Party!)
- Total Time: 30 minutes
- Yield: 16 cake pops
- Diet: Vegetarian
Description
Birthday cake cake pops made from crumbled cake, frosting, and candy melts—fun, sweet, and perfect for parties.
Ingredients
3 cups crumbled vanilla or funfetti cake
3–4 tablespoons frosting (vanilla buttercream or canned)
1 cup candy melts (various colors)
1 tablespoon coconut oil (optional, for thinning)
Sprinkles or edible glitter
Cake pop sticks
Instructions
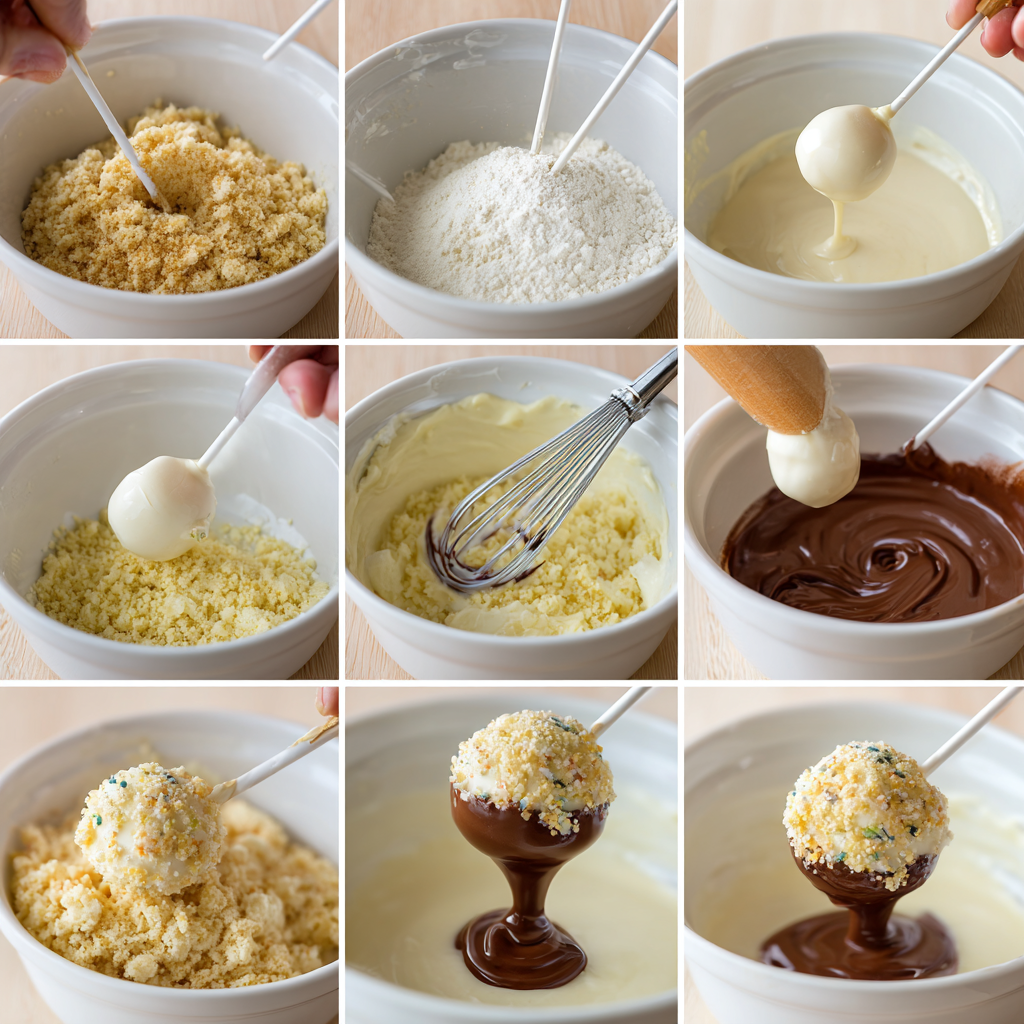
1. Crumble the cooled cake into fine crumbs using your hands or a food processor.
2. Add frosting one tablespoon at a time and mix until dough is like soft clay.
3. Roll the dough into 1.5-inch balls and chill for 20 minutes.
4. Melt candy melts in 30-second microwave bursts, adding coconut oil if needed.
5. Dip stick ends in coating, insert halfway into chilled cake balls.
6. Let sticks set for 5 minutes, then dip entire pops and tap off excess.
7. Immediately decorate with sprinkles and place upright to set.
Notes
Avoid overmixing the cake and frosting.
Chill before and after inserting sticks for better stability.
Store in airtight container at room temp for 3 days or refrigerate for up to 1 week.
- Prep Time: 30 minutes
- Category: Dessert
- Method: No-bake
- Cuisine: American
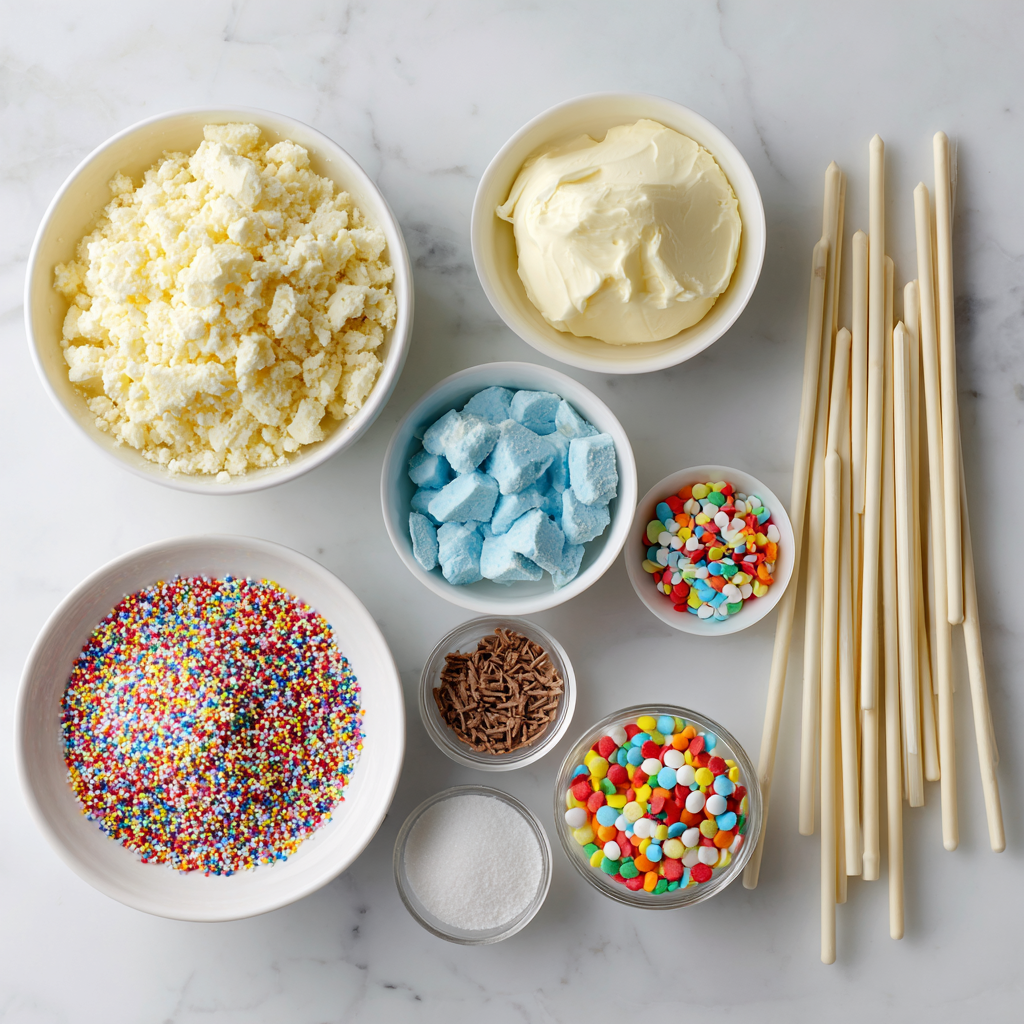
Table of Contents
The Cake Base is Everything
Homemade or Leftover: What Works Best?
When it comes to making birthday cake cake pops, the cake you start with makes a huge difference. Some folks swear by homemade funfetti cake, while others grab a boxed mix from the pantry. The good news? Both work beautifully.
You don’t need a fancy sponge to create delicious birthday cake cake pops. Leftover birthday cake? Perfect. Maybe your kid didn’t finish their slice, or you’ve got half a layer cake sitting in the fridge. Crumble it up and breathe new life into it with a little frosting magic.
For special occasions, I like starting with funfetti or vanilla cake for that classic birthday vibe. When you crumble it and mix in frosting, those colorful sprinkles peek through and create the signature look of birthday cake cake pops. You can even use the base from recipes like these Funfetti Cake Cupcakes—just bake in a pan and crumble once cool.
Moisture Matters: Binding Like a Pro
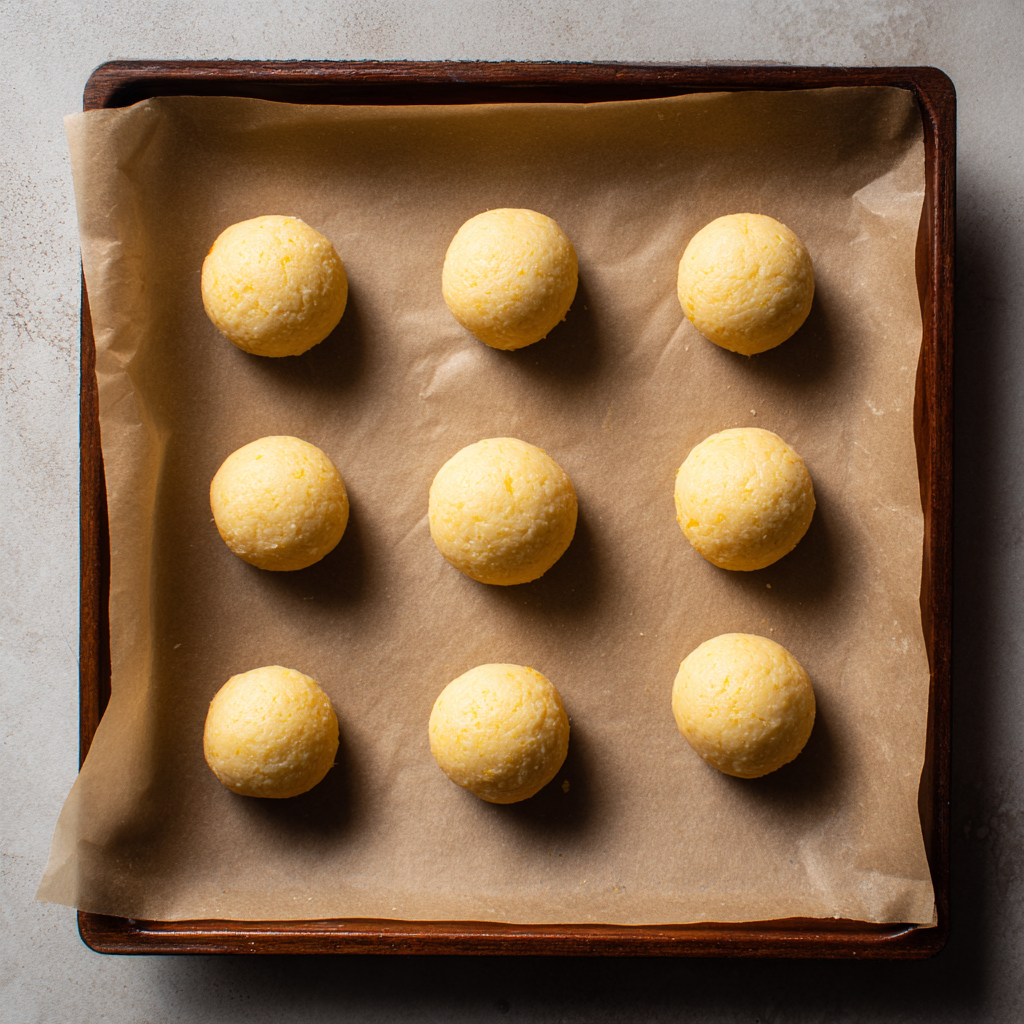
The real secret to perfect birthday cake cake pops? Texture. If your mix is too wet, the cake balls will slide down the stick. If it’s too dry, they’ll crack apart before the candy coating even goes on.
Start by breaking your cake into fine crumbs. A food processor makes quick work of this, but clean hands do the trick, too. Add frosting one tablespoon at a time. Stop when the mixture feels soft, pliable, and a bit like playdough. You want the birthday cake cake pops to roll easily into balls and hold their shape without sticking to your hands.
One common mistake is overdoing the frosting. If you’re using a rich homemade frosting like the kind you’d slather on a layered cake with fondant icing, you may need less than you think. Always test one ball first—roll it and see how it feels. If it flattens or sticks too much, chill the mix for 10–15 minutes, then try again.
Once you’ve got a good dough, roll uniform balls about 1.5 inches wide and place them on a parchment-lined baking sheet. Chill for at least 20 minutes in the fridge. This will help your birthday cake cake pops stay firm during dipping and decorating in the next step.
For More Recipes :
Coating and Decorating Like a Pro
The Secret to Dipping Without the Drip
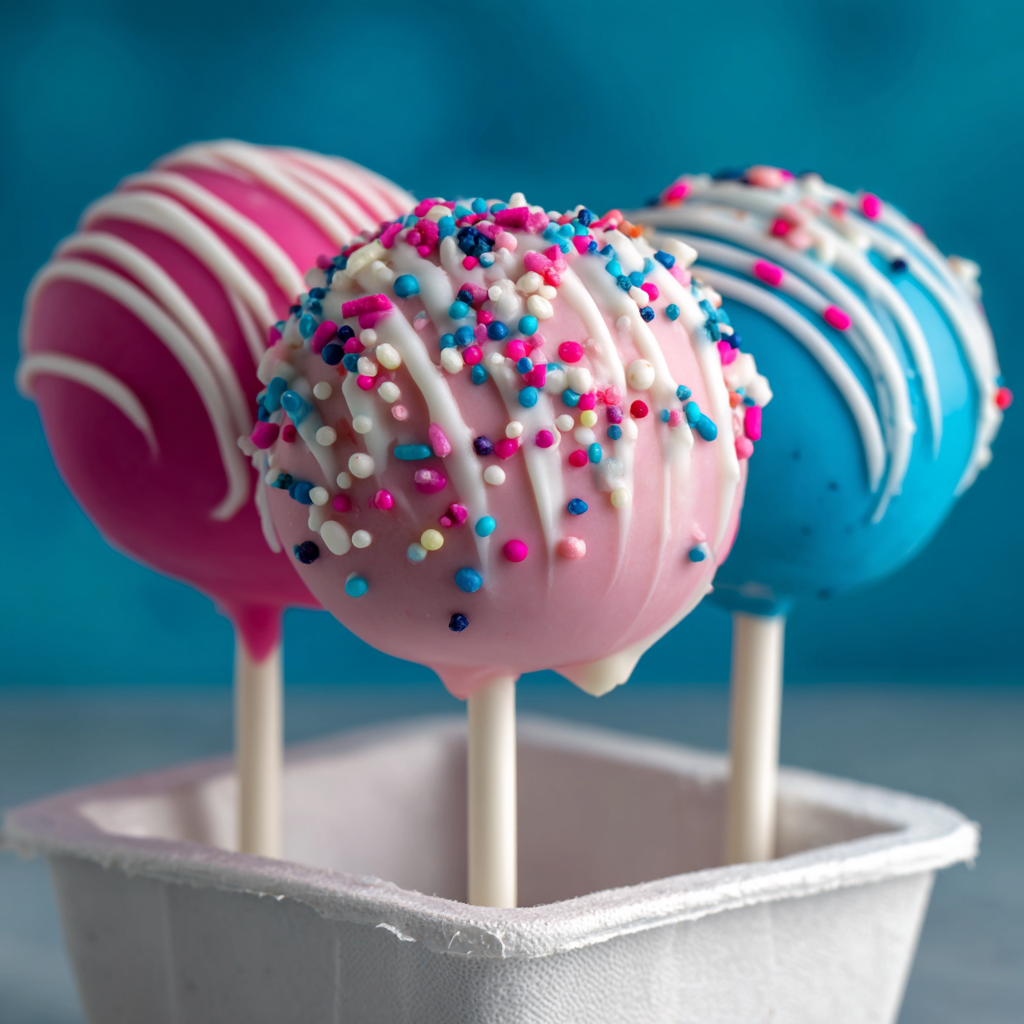
Now that your birthday cake cake pops are rolled and chilled, it’s time for the fun part—dipping! This step can make or break the final look, but with the right technique, you’ll get that smooth, bakery-style finish every time.
First, let the chilled cake pops sit at room temperature for about 5 minutes before dipping. When they’re too cold, the coating is more likely to crack. Melt your candy melts or white chocolate slowly in the microwave in 30-second bursts, stirring between each round. This keeps the coating from burning or clumping. If it’s too thick, stir in a small amount of coconut oil to thin it out for easier dipping.
To secure the stick, dip about half an inch of the lollipop stick into the melted coating, then insert it halfway into the cake pop. This helps anchor the stick in place once it sets. Let them rest upright (stick-side up) for a few minutes before dipping the entire pop.
Gently dip each birthday cake pop in one smooth, continuous motion. Don’t swirl—it can cause the cake ball to fall off. Gently tilt and rotate the stick to fully coat, then tap off the excess by holding the stick upright and lightly tapping your wrist. This method keeps the pop intact and leaves a clean finish.
Using bright candy melts gives your birthday cake cake pops that festive birthday feel. I like using pink, white, or even bright blue to mimic those popular store-bought versions. If you’re looking for meal prep contrast to these sweet treats, try pairing your dessert plans with easy ideas like those from this Devour Meals guide.
Fun Finishes: Sprinkles, Swirls & Birthday Bling
Before the coating hardens, quickly add sprinkles or edible glitter for that classic birthday look. You’ve got about 30 seconds before the shell begins to set, so be ready with your toppings nearby. Rainbow jimmies, gold sugar pearls, or even crushed cookies make fantastic finishes.
Want to get creative? Swirl two candy melt colors in a small bowl, then dip your cake pop to achieve a marbled look. Or drizzle a contrasting color over the dried coating using a fork or piping bag. These easy touches instantly elevate your birthday cake cake pops, especially for baby showers or themed parties.
Pro tip: If you’re serving these alongside more elegant desserts like layered cakes or gourmet cupcakes, consider displaying them upright in a decorative foam base. It makes them easier to grab and keeps your birthday cake cake pops from smudging.
And if you’re planning a full menu around your treats, you might enjoy checking out these fun steak and cake pairing ideas. Yes, savory and sweet can totally be friends.
Storage, Serving & Smart Swaps
Make-Ahead Magic: How Long They Last
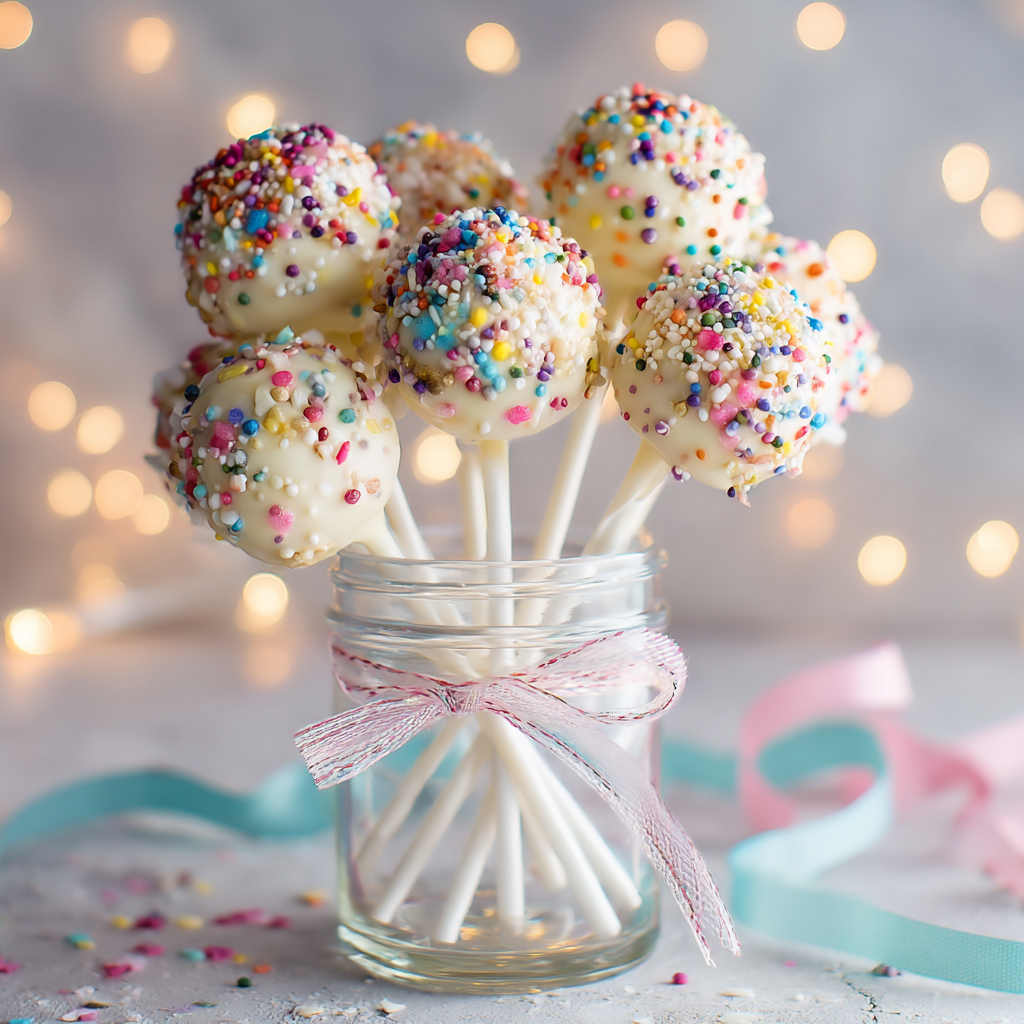
You’ve dipped, sprinkled, and admired your gorgeous birthday cake cake pops—now what? If you’re prepping for a party or storing leftovers, knowing how to keep them fresh is just as important as making them pretty.
Once the coating is fully set, transfer your cake pops to an airtight container. When stacking, place parchment paper between layers to keep them from sticking or cracking. At room temperature, birthday cake cake pops last up to 3 days. They’ll stay even longer—about 5 to 7 days—when stored in the fridge.
Want to make them way ahead of time? You can freeze them. Simply arrange the finished cake pops in a single layer on a baking sheet and freeze them for 1 to 2 hours. Once firm, transfer to a freezer-safe bag or container. Frozen birthday cake cake pops can last up to 6 weeks. When you’re ready to serve, thaw in the fridge overnight—don’t rush the process or they may sweat and ruin the coating.
If you’re planning a birthday bash or potluck, having these ready the night before gives you one less thing to stress about. And if you’re also meal prepping for the week, grab ideas from this Healthy Walmart Meals Guide to balance all that sweetness with some smart savory picks.
Flavor Switch-Ups to Try
One of the best parts about birthday cake cake pops is how customizable they are. You’re not stuck with just vanilla—though it’s a crowd-pleaser for a reason.
Want something a little different? Try chocolate cake with a chocolate shell and rainbow sprinkles for a twist on the classic. Red velvet cake pops, with their decadent flavor and cream cheese frosting, are a luxurious treat perfect for adult get-togethers. Lemon cake adds brightness, while strawberry is always a kid favorite.
Another fun idea: match the candy coating to the flavor inside. Picture lemon cake pops covered in a cheerful, sunny yellow coating. Yes, please. Or try white chocolate coating with crushed freeze-dried strawberries on top—it’s a flavor bomb with a little crunch.
Even if you’re starting from leftover or imperfect cake, you can still make something impressive. Turning leftover cake into birthday cake pops is a sweet way to give dessert a second life. If you’re already working with leftovers from something like a bland diet meal plan, this sweet treat can bring your taste buds back to life.
FAQs About Birthday Cake Cake Pops
What is the trick to cake pops?
The key to great birthday cake cake pops is balance. You want just enough frosting to bind the cake crumbs without making the mixture too wet. Use chilled, uniform-sized balls, dip the stick in coating before inserting, and let them rest before dipping. Smooth candy melt coverage and the right temperature also help prevent cracks or sliding.
What flavor is the birthday cake pop?
Most birthday cake cake pops are made with vanilla or funfetti cake, often combined with vanilla buttercream. The flavor is sweet, buttery, and slightly nostalgic—like a slice of classic birthday cake wrapped in a candy shell. You can also mix things up with chocolate or red velvet, but “birthday cake” usually refers to that funfetti-meets-vanilla profile.
What is Starbucks birthday cake pop made of?
Starbucks birthday cake pops use a vanilla cake base with a pink candy coating and white sprinkles. Inside, the texture is dense and moist, thanks to added frosting. While the exact recipe isn’t public, it’s easy to recreate your own version using vanilla cake, buttercream, and pink candy melts. Our version brings the same charm without the drive-thru.
Can you turn old cake into cake pops?
Absolutely. Leftover or day-old cake is actually perfect for making birthday cake cake pops. Just crumble it up, mix with frosting, roll into balls, and dip. It’s a great way to reduce waste and turn forgotten slices into a fresh dessert that feels brand new.
Conclusion
Birthday cake cake pops aren’t just adorable—they’re smart, simple, and full of potential. Whether you’re reviving leftover cake or baking from scratch, they offer a no-fuss, all-fun treat that works for birthdays, holidays, or slow afternoons at home.
With the right balance of cake and frosting, a steady hand during dipping, and some festive decorations, you can whip up bakery-quality birthday cake cake pops right from your kitchen. And the best part? They’re every bit as fun to eat as they are to make.
Don’t overthink it—just start crumbling and dipping. You’ll be surprised how quickly these little pops disappear.


1 thought on “Birthday Cake Cake Pops That Actually Hold Together (And Taste Like a Party!)”